How To Add Image In HTML From A Folder [+Example Codes]
In this post you will discover step by step guide on how to add image in html from a folder with example, video and the source code included for you to copy and use for free in your own html project any time anywhere.
How To Add Image In HTML From A Folder Answered Step by Step Guide
SECTION A: Text-Based Answer
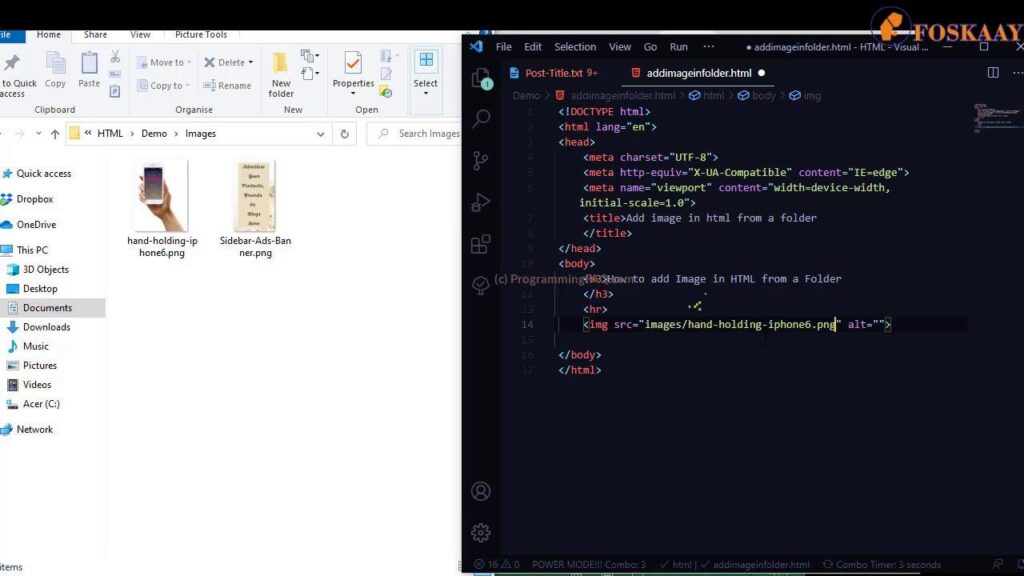
STEP 1: Create a Folder on your computer named “images” (follow normal ways you do it on your Windows, Mac or Linux system)
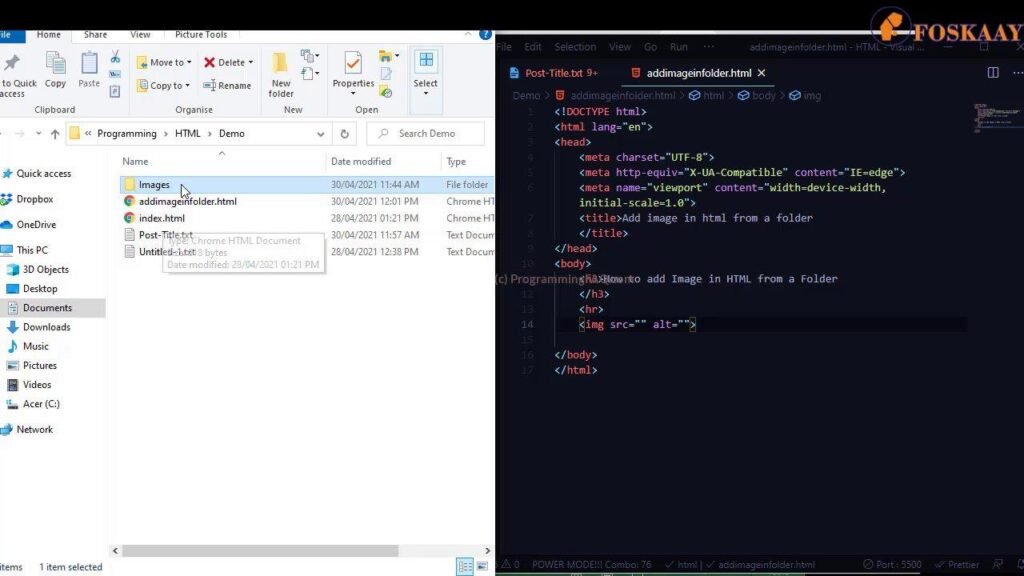
STEP 2: Put the image you like to use in the folder created in step 1 above.
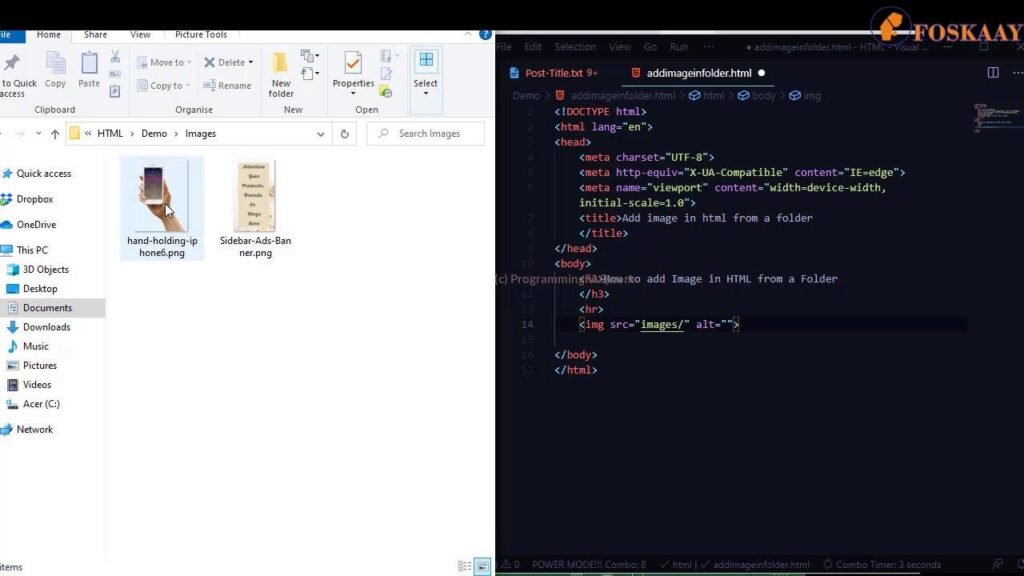
NOTE: If you don’t have image to use, then you can get a free image from royalty free images websites like Pexels and Pixabay (Just ensure whenever you using images in your development project, its either yours, you buy the licence or get it from royalty free websites mentioned previously to afford copyright infringement).

STEP 3: Open your IDE – In my case am using VS Code (it free IDE to download)
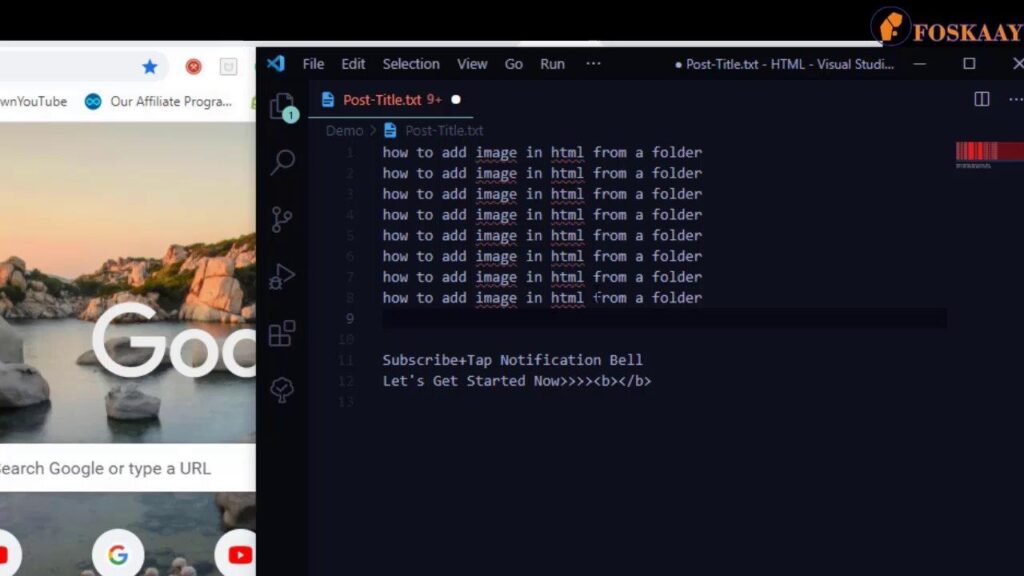
STEP 4: Click on CTRL + N on Windows or Command + N on Mac to open a new file for your html code.

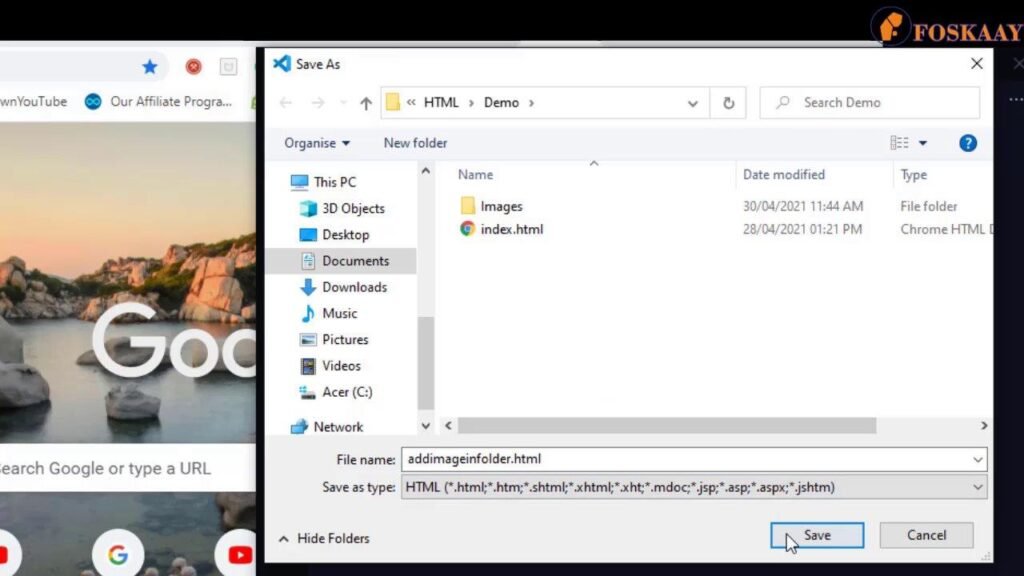
STEP 5: Click Save and ensure the file is saved as .html extension in same folder as where you have your images folder in step 1 above.
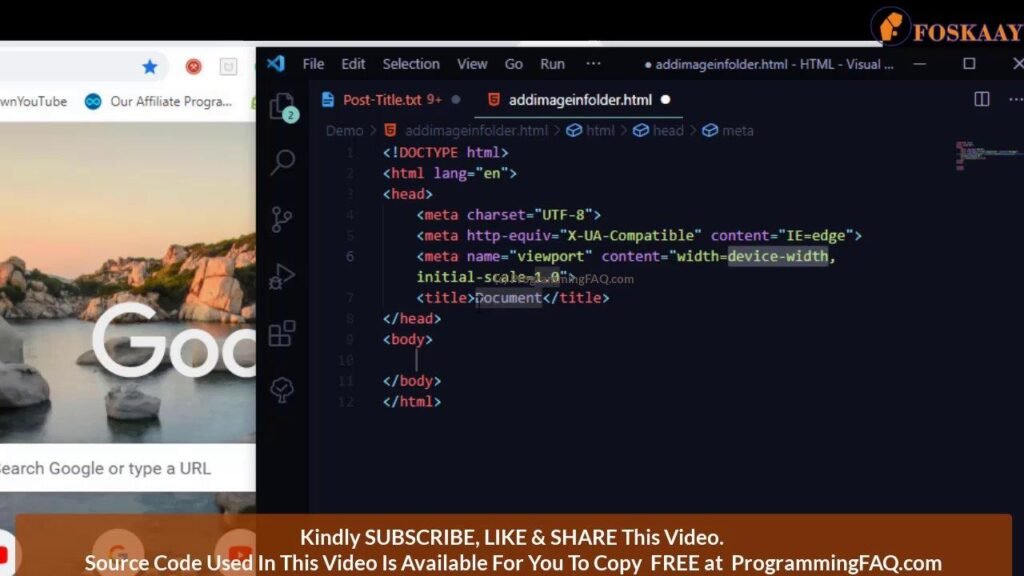
STEP 6: It time to code. Fill your normal HTML frame and put the following code in the body section (should be between it before the close of the body tag).
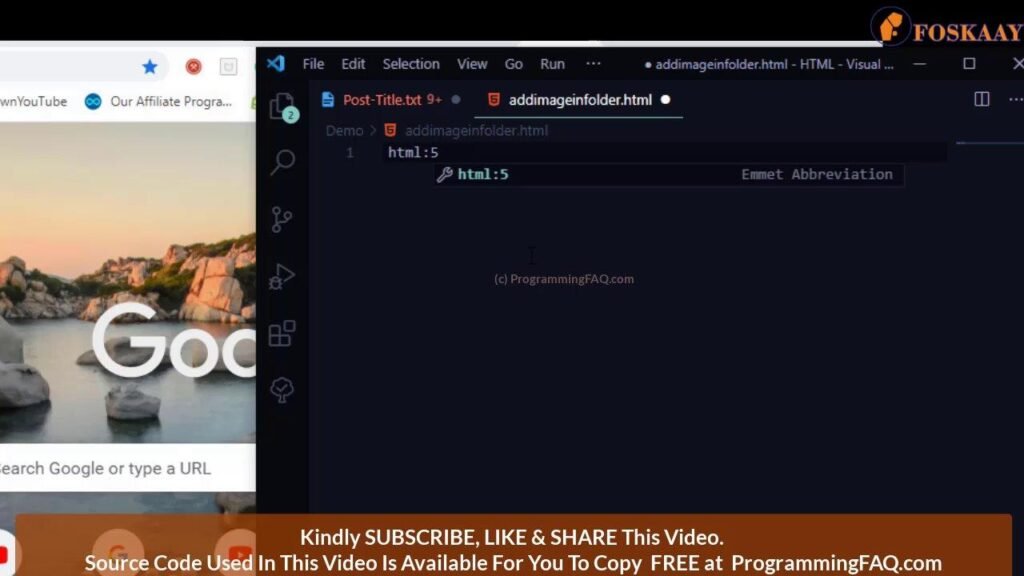
To make it easier for you as usual on dProgrammingUniversity, below under section C is the complete example source code on how to add image in HTML from a folder.
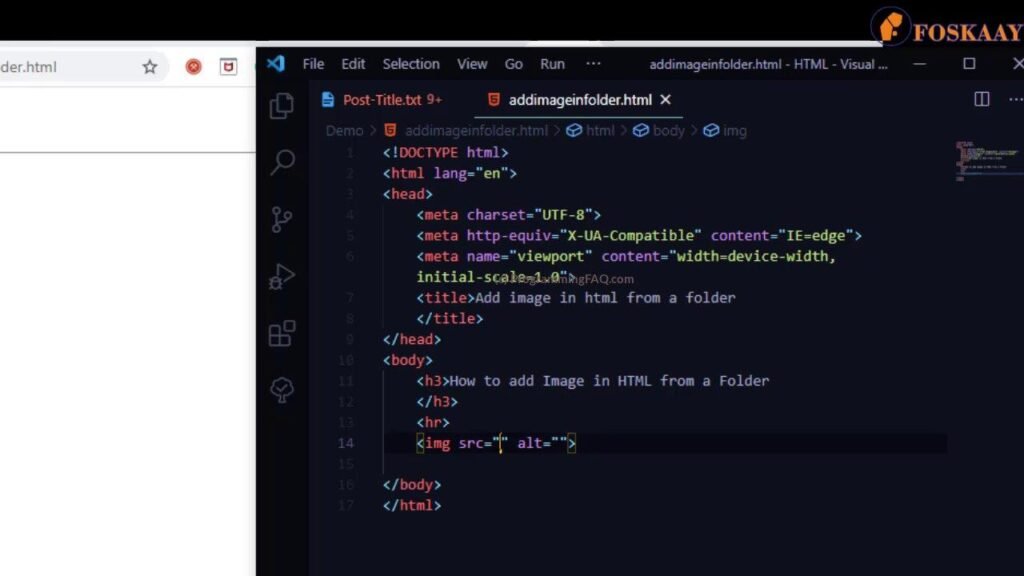
STEP 7: Use the HTML syntax for image (as seen in source code in section C)
STEP 8: In the image element “src”, select the image to replace my sample image URL in the source code with the name of your image you saved inside the images folder we created in step 1 earlier.
STEP 9: Add “Alt” describing what the images is all about
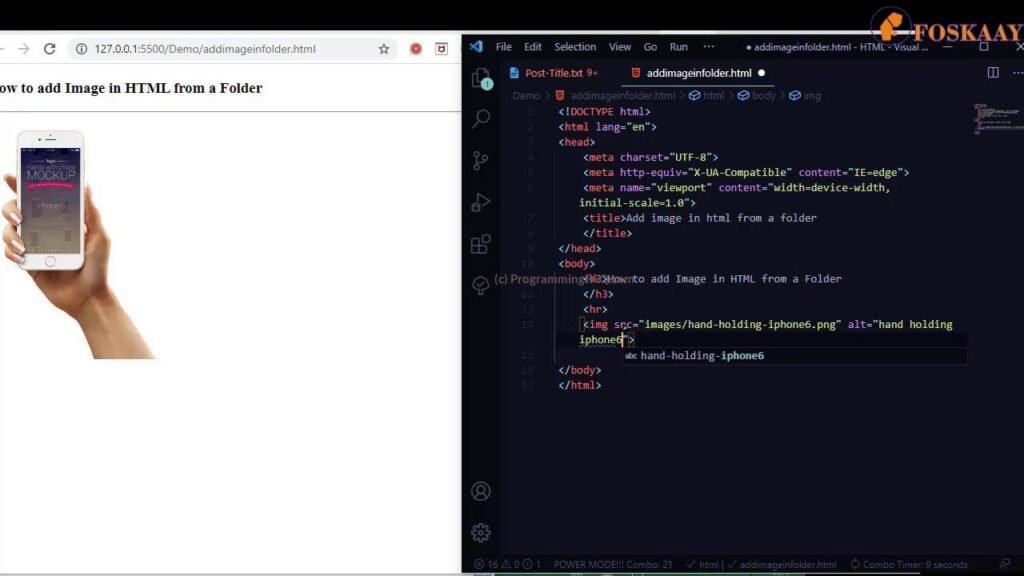
STEP 10: Save your HTML code in VS Code. Then,
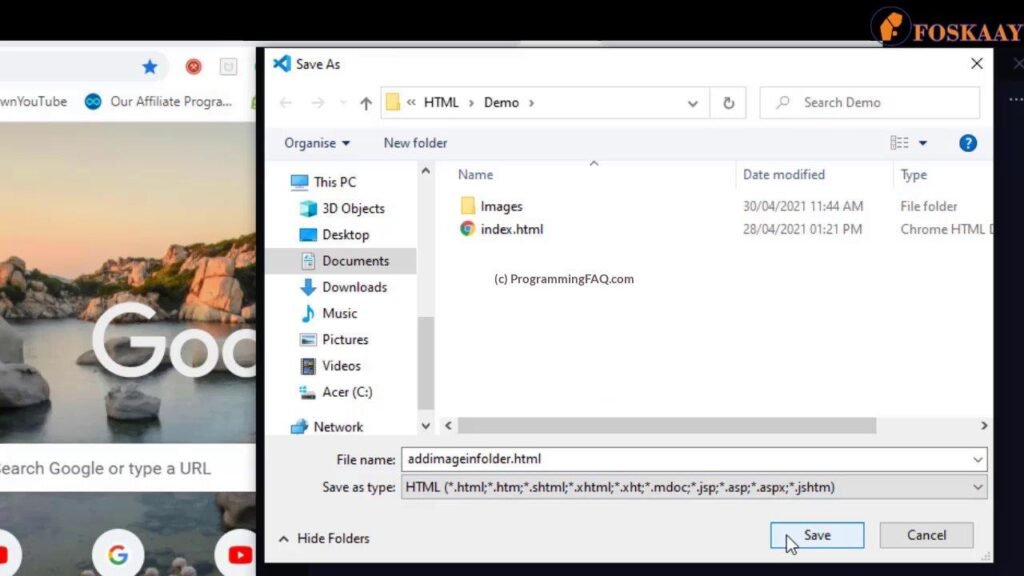
STEP 11: Click on “Go Live” at the bottom of the VS Code to auto launch your default browser to display the HTML page in your browser.

STEP 12: If you followed above instructions carefully, your HTML page should load up in your browser with the image from your images folder.
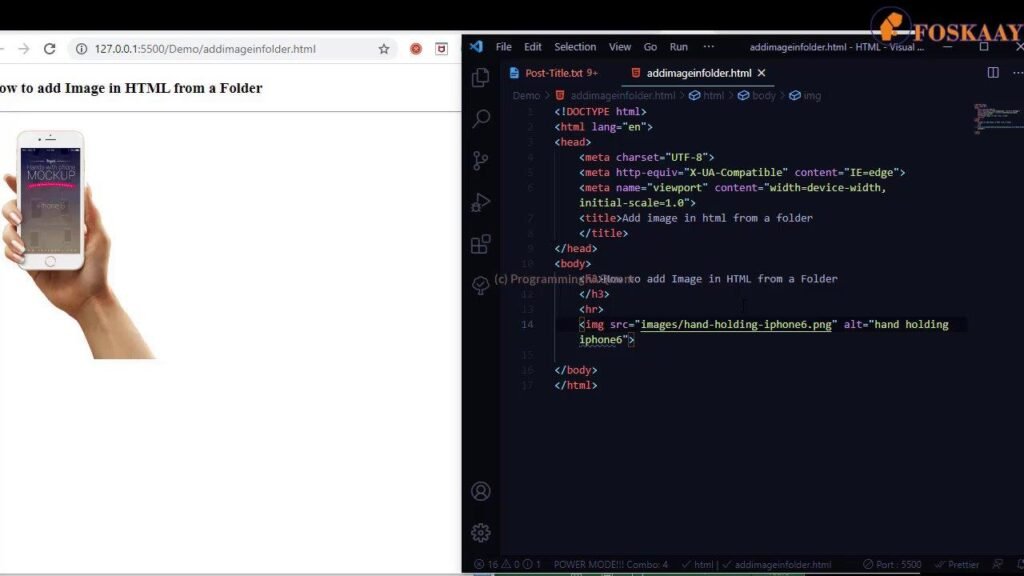
STEP 13: You can test the importance of the “alt” attribute by including “7” (or any other number or letter) at the end of the “src” URL to ensure its incorrect.
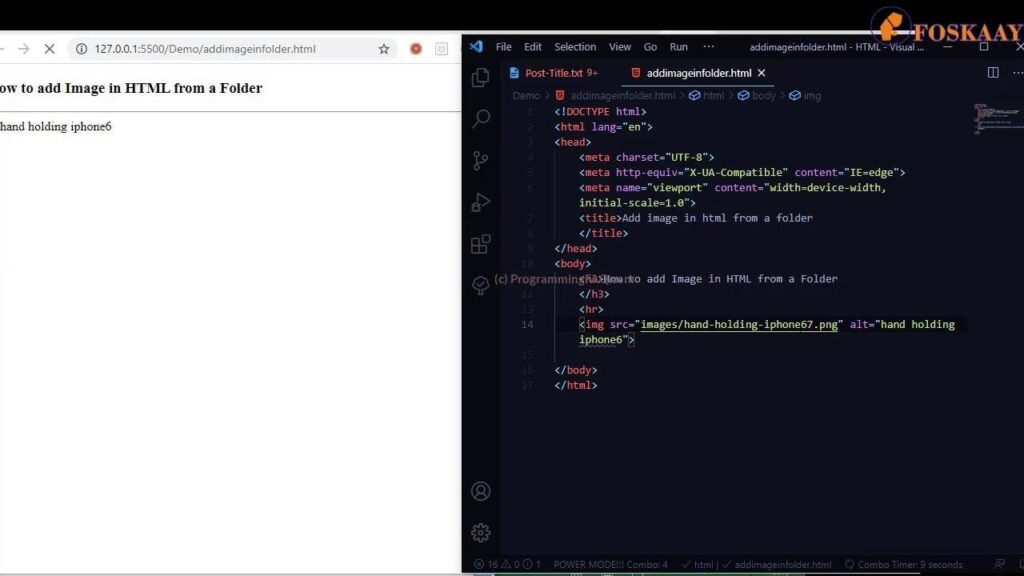
Clear the “7” (or any other number or letter) you added above away, save and you have your image back in html from a fold.

STEP 14: Copy and paste the example source code used for this post below (Section C) and play with it to master how to get it done much easier and faster.
SECTION B: Video-Based Answer
Watch me answering your question “How To Add Image In HTML From A Folder” in a video step by step:
SECTION C: Source Code For Above Answer
Copy and use the example of How to add image in HTML from a folder below for free:
Source code Hidden Because You Are Not A Member – Don’t Worry, Membership is Free and the source code will be available FREE once you login.
REGISTER FREE or LOGIN HERE


